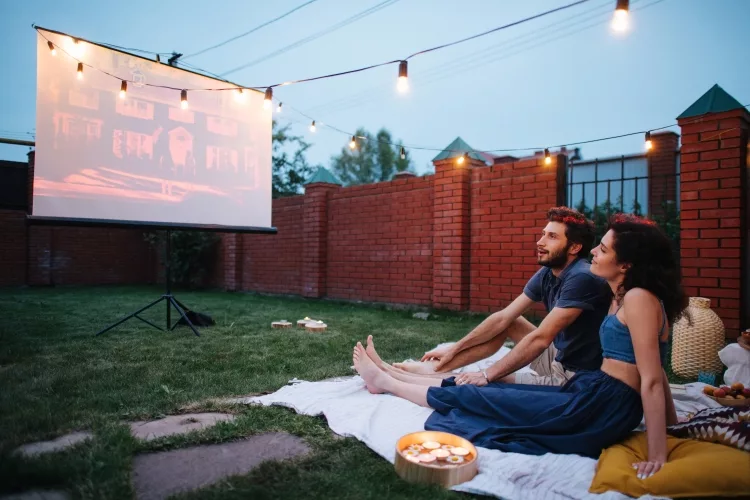
We all love enjoying a good entertainment experience with our loved ones on a widescreen, whether it’s at home or the theatre.
Both these options are not the most budget-friendly for regular purposes, neither can you hang your screen in the outdoors when intending to create a backyard event.
This simplest solution in such cases to create a screen stand of your own which you can use outdoors or anywhere outside your home.
With the use of just a few tools, let’s check out all the simple ways of how to build a projector screen stand so that you never have to miss out on a widescreen ordeal ever again!

In order to make your own projector stand, wood is one of the simplest yet sturdy materials that you can opt for. The following are the things that you’d need:
Choose your wooden bars based on the size of the projector screen you intend to use. Two of the bars should be longer for being the vertical stand on each end, while the shorter ones will be the horizontal support of the screen.
If you’re not feeling so crafty and your backyard has two trees side by side with ample space between, just create a one-dimensional wooden frame to hold the screen.
Then with a sturdy wire, wrap one tree and extend to the other like a clothesline for drying wet clothes. Once that’s done simply hang the frame on that with hooks. This hanging method is not recommended though as the wind may easily cause your screen to sway and tilt, disrupting the stability of your visuals.
There is a convenient way to build a display stand for your projector screen if you want to skip all the legwork behind building a wooden stand.
PVC is far more lightweight and easier to work with, and more affordable too. In order to create your projector screen with PVC along with a stand, here are the items and tools you’d need to get.
This is relatively easy to assemble and can be disassembled in a jiffy. For that flexibility, skip the glue part.
Now that your PVC projector screen stand is all set, you can easily set it up outdoors or anywhere you prefer. If the structure feels a little wobbly, feel free to use sandbags or any heavy object on top of the bases.
It is one of the simplest ways to get the job done and once you get the pieces all right, reassembling takes just a few minutes!
There are obviously other more complicated ways to build your own stand by using sturdier material such as metals, but those are too heavy and complicated and not worth the hassle.
in order to enjoy a widescreen experience either indoors or outdoors, a projector comes in handy, but it is not this device alone that does the magic.
You need to set up the projector screen perfectly as well so that the best visual experience is ensured regardless of the environment.
While you can easily use a wall or ceiling to hang up your screen when indoors, the challenge arises when you’re out in the open or in a room with no free wall or ceiling space.
In such moments of distress, going DIY can save the day. Now that you know all about how to build a projector screen stand, even if all else stops, your projections certainly won’t.
 |
 |
 |
 |
 |
 |
 |
 |

About Dror Wettenstein
Dror Wettenstein is a software engineer and entrepreneur with more than 15 years of experience in the industry. He is the founder of TechTreeRepeat, a company that enables technical writers to publish their work faster and share it with readers across the globe. Dror has a master’s degree in computer science from San Diego State University and a bachelor’s degree in physics from UC Irvine.
When he’s not working on software projects, Dror enjoys writing articles and essays on various topics. He also likes playing guitar and spending time with his wife and two young children.
Bonus Deals of the Day
Check the FREE Gifts here. Or latest free books from our latest works.
Remove Ad block to reveal all the secrets. Once done, hit a button below
 |
 |
 |
 |